

Primer design is one of the most important steps in developing a successful PCR assay. Primers are short, synthetic DNA sequences that define the region of DNA to be amplified and provide the starting point required by DNA polymerase. Well-designed primers can produce a strong, specific amplification product, while poorly designed primers may result in nonspecific bands, primer-dimers, weak amplification, or complete PCR failure.
Although primer design can initially seem complicated, understanding a few fundamental principles makes the process much more straightforward. Primer length, melting temperature (Tm), GC content, specificity, secondary structures, and the distance between the forward and reverse primers all influence PCR performance.
This guide explains the essential principles of primer design for PCR, including how to choose primer sequences, important parameters to consider, primer design tools, and how to evaluate primers before using them experimentally.
What Is Primer Design?
Primer design is the process of selecting short DNA sequences that can specifically bind to complementary regions of a DNA template and define the boundaries of a PCR amplicon.
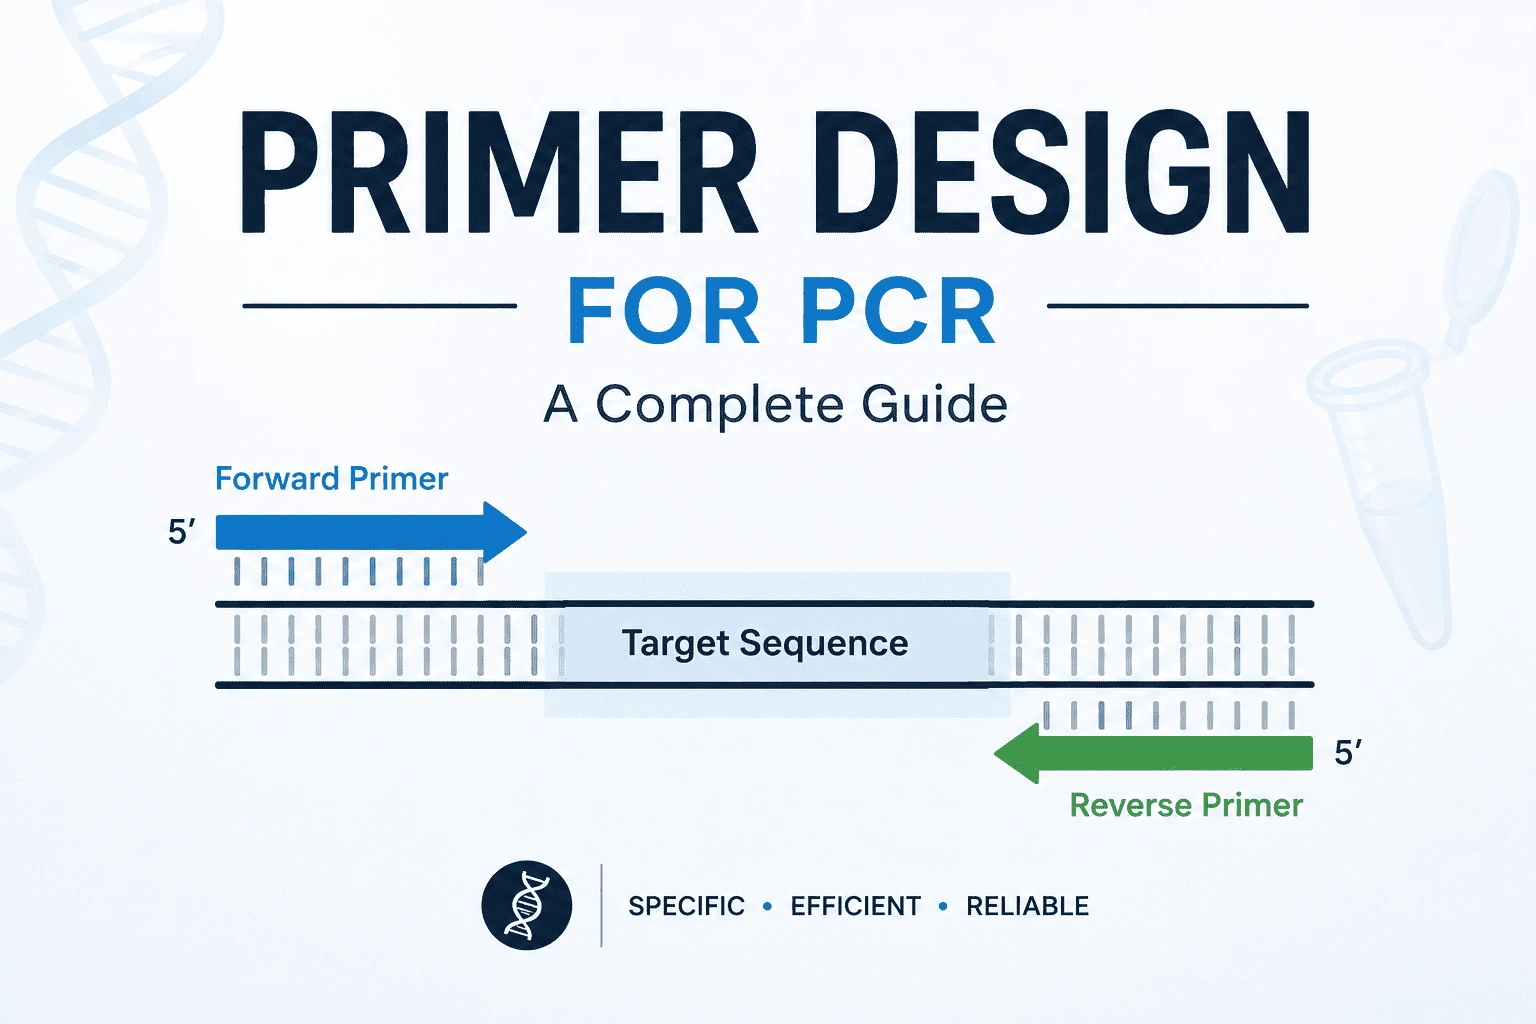
A conventional PCR reaction normally requires two primers:
- Forward primer: binds to one strand of the DNA template.
- Reverse primer: binds to the opposite strand and defines the other end of the target region.
During PCR, the primers anneal to their complementary sequences and provide a free 3′-OH group from which DNA polymerase extends the newly synthesized DNA strand.
The two primers therefore determine which region of the template will be amplified.
For example, if a researcher wants to amplify a specific exon of a gene, the forward primer can be designed upstream of the exon and the reverse primer downstream of the target region. The resulting PCR product, or amplicon, contains the DNA sequence located between the two primer-binding sites.
Effective primer design should achieve two objectives simultaneously:
- Specificity: the primers should recognize the intended target rather than unrelated sequences.
- Efficient amplification: the primers should have physicochemical characteristics compatible with the PCR conditions.
Key Parameters for PCR Primer Design
Several characteristics should be evaluated when designing PCR primers. No single parameter determines whether a primer will work; rather, the overall combination of sequence characteristics determines primer performance.
1. Primer Length
PCR primers are commonly designed within a relatively short sequence range, often around 18–25 nucleotides.
Primers that are too short may bind to multiple locations in a complex genome, reducing specificity. Extremely long primers may also introduce unnecessary complexity and can have increased potential for secondary structures.
A primer around 20 nucleotides long is often a useful starting point, although the optimal length depends on the application and sequence context.
2. Melting Temperature
The melting temperature (Tm) is the temperature at which approximately half of the primer-template duplexes are dissociated under defined conditions.
Tm is particularly important because it influences the annealing temperature used during PCR.
For many conventional PCR applications, primers are designed with Tm values in approximately the 55–65°C range, although the appropriate value depends on the primer sequence, salt concentration, primer concentration, polymerase system, and calculation method.
The forward and reverse primers should generally have similar Tm values. A large difference between their Tm values can make it difficult to identify an annealing temperature that supports efficient amplification of both primers.
Importantly, Tm values calculated by different software programs may differ because they use different thermodynamic models and assumptions. Therefore, Tm should not be considered an absolute property independent of the reaction conditions.
3. GC Content
GC content represents the proportion of guanine (G) and cytosine (C) nucleotides in a primer.
G-C base pairs form three hydrogen bonds, whereas A-T base pairs form two. Consequently, GC content influences primer stability and melting temperature.
For many PCR applications, a GC content of approximately 40–60% is a useful general target.
Very low GC content can produce weak primer-template interactions, whereas excessively high GC content can increase primer stability and may promote unwanted secondary structures.
4. The 3′ End of the Primer
The 3′ end is particularly important because DNA polymerase extends the primer from this end.
A moderate presence of G or C near the 3′ terminus can sometimes improve stable binding, a feature often referred to as a GC clamp. However, excessive G or C residues at the 3′ end should be avoided because they can increase the risk of nonspecific interactions.
The 3′ region should also be examined carefully for complementarity with the other primer, because 3′ complementarity can promote primer-dimer formation.
5. Avoid Repetitive Sequences
Primers containing long stretches of the same nucleotide or repetitive sequence motifs should generally be avoided.
For example, sequences containing extended homopolymer runs such as:
AAAAAAAA
or
GGGGGG
may have undesirable properties and can complicate primer binding or synthesis.
Similarly, repetitive genomic regions can make it difficult to achieve target specificity.
6. Avoid Secondary Structures
A primer should ideally remain available to bind its target sequence rather than folding back on itself.
Potential secondary structures include:
- Hairpins
- Self-dimers
- Cross-dimers
- Other intramolecular or intermolecular interactions
A hairpin occurs when complementary regions within a primer interact with each other. A self-dimer occurs when two molecules of the same primer interact. A heterodimer, or cross-dimer, occurs when the forward and reverse primers interact with each other.
These structures can reduce the amount of primer available for target amplification and may contribute to nonspecific products.
7. Primer Specificity
A primer should ideally have one primary binding site corresponding to the intended target.
This is especially important when working with genomic DNA, where many related sequences may be present.
A sequence that appears suitable based only on its length, Tm, and GC content may still produce poor results if it has significant similarity to other genomic regions.
For this reason, candidate primers should be checked against an appropriate sequence database using a sequence similarity search such as BLAST.
Choosing the PCR Amplicon
Primer design should not focus exclusively on the primers themselves. The region between the primers—the amplicon—is also important.
For standard PCR, a relatively short amplicon is often easier to amplify than a very long fragment. The appropriate size depends on the purpose of the assay and the polymerase system being used.
For example, analytical PCR, cloning, sequencing, RT-PCR, and quantitative PCR can have different optimal amplicon-size requirements.
When designing primers for qPCR, shorter amplicons are generally preferred because amplification efficiency and reaction kinetics become particularly important.
The target region should also be examined for repetitive sequences, high-GC regions, known polymorphisms, and other features that could interfere with primer binding or amplification.
How to Design PCR Primers Step by Step
A systematic workflow can make primer design more reliable.
Step 1: Obtain the Correct Target Sequence
Start with the correct DNA or transcript sequence for the organism and gene of interest.
Verify:
- Gene identity
- Organism
- Reference sequence
- Transcript or isoform
- Exon structure, when relevant
- Target region
Using an incorrect transcript or sequence can result in primers amplifying a different region than intended.
Step 2: Define the Region to Amplify
Determine exactly which sequence should be included in the PCR product.
For example, you may want to amplify:
- A complete exon
- Several exons
- A mutation-containing region
- A promoter region
- A cloned DNA fragment
- A cDNA region
- A diagnostic target sequence
Clearly defining the target region before designing primers helps prevent unnecessary redesign later.
Step 3: Select Candidate Forward and Reverse Primers
Choose sequences on opposite strands that flank the desired region.
Evaluate each candidate for:
- Primer length
- Tm
- GC content
- Sequence complexity
- Secondary structures
- Potential nonspecific binding
Step 4: Compare Primer Tm Values
Select a forward and reverse primer pair with reasonably similar Tm values.
This allows the two primers to anneal efficiently under compatible PCR conditions.
Step 5: Check Secondary Structures
Analyze both primers individually and as a pair.
Look specifically for:
- Strong hairpins
- Self-complementarity
- 3′ self-complementarity
- Forward/reverse primer complementarity
- Potential primer-dimer formation
Step 6: Check Specificity
Run the candidate primers against the relevant sequence database.
This step helps identify potential binding sites outside the intended target.
A primer pair should be selected based not only on theoretical parameters but also on whether the predicted amplification product corresponds to the desired target.
Step 7: Evaluate the Amplicon
Confirm that the predicted PCR product has the appropriate:
- Size
- Sequence
- Target location
- Strand orientation
For assays involving transcripts, also verify whether the primers are compatible with the intended transcript or isoform.
Step 8: Experimentally Validate the Primers
Computational analysis cannot guarantee successful PCR.
The final primer pair should be tested experimentally using appropriate PCR conditions.
Depending on the application, validation may include:
- Agarose gel electrophoresis
- Amplicon sequencing
- Melting-curve analysis for qPCR
- Amplification-efficiency testing
- No-template controls
- Positive controls
Primer Design for Different PCR Applications
The basic principles of primer design apply across PCR methods, but specific applications may require additional considerations.
Conventional PCR
For conventional PCR, primer specificity and reliable amplification are usually the main priorities. The expected amplicon can be evaluated by agarose gel electrophoresis.
RT-PCR
For RT-PCR, primers are designed to amplify sequences derived from RNA after reverse transcription into cDNA.
When the goal is to minimize amplification from contaminating genomic DNA, primers can sometimes be designed across an exon-exon junction or in different exons, depending on the experimental design and gene structure.
qPCR
Primer design is especially important for quantitative PCR because amplification efficiency directly affects quantitative measurements.
qPCR primers should generally produce a specific, efficiently amplified product. Their specificity can be evaluated using amplification curves and, for dye-based assays, melting-curve analysis.
Multiplex PCR
In multiplex PCR, several primer pairs are included in the same reaction. This makes primer compatibility particularly important.
In addition to evaluating each primer pair individually, researchers must examine potential interactions between primers from different pairs.
Similar annealing requirements and minimal cross-dimer formation are desirable.
PCR for Sequencing
When PCR products will subsequently be sequenced, primers should generate a clean and specific amplicon suitable for the downstream sequencing method.
The primer location should also provide sufficient sequence coverage around the region of interest.
Useful Primer Design Tools
Several bioinformatics tools can assist with PCR primer design and evaluation.
Primer-BLAST
Primer-BLAST combines primer design with sequence similarity analysis, making it useful for identifying primers with suitable characteristics while assessing potential specificity.
Primer3
Primer3 is a widely used primer-design program that allows users to define parameters such as primer length, melting temperature, GC content, and product size.
IDT OligoAnalyzer
OligoAnalyzer can be used to evaluate oligonucleotide properties and examine potential hairpins, self-dimers, and heterodimers.
NCBI BLAST
BLAST can be used to investigate whether a candidate primer sequence has significant similarity to unintended sequences.
The best workflow often involves using several tools rather than relying on a single program.
PCR Primer Design Checklist
Before ordering primers, review the following points:
- Primer length is appropriate for the intended assay.
- Forward and reverse primers have compatible Tm values.
- GC content is within a reasonable range.
- Strong hairpin structures are avoided.
- Significant primer-dimer interactions are avoided.
- The 3′ ends do not show problematic complementarity.
- The target sequence is correct.
- Primer binding sites are located in the intended region.
- The predicted amplicon has the appropriate size.
- Primer specificity has been evaluated.
- Relevant sequence variants have been considered when necessary.
- The primers are compatible with the intended PCR application.
Conclusion
Primer design is a critical step in PCR optimization and assay development. A good primer pair should combine appropriate length, melting temperature, GC content, sequence specificity, and minimal secondary-structure or dimerization potential.
The design process should begin by accurately defining the target sequence and then evaluating candidate primers using computational tools. Specificity analysis, secondary-structure assessment, and careful examination of the predicted amplicon can substantially reduce the risk of failed or nonspecific amplification.
However, even carefully designed primers require experimental validation. PCR conditions, template quality, polymerase choice, sequence composition, and sample characteristics can all influence amplification performance.
By following a systematic PCR primer design workflow rather than selecting primers based on a single parameter, researchers can improve the likelihood of obtaining specific, reproducible, and efficient amplification.


